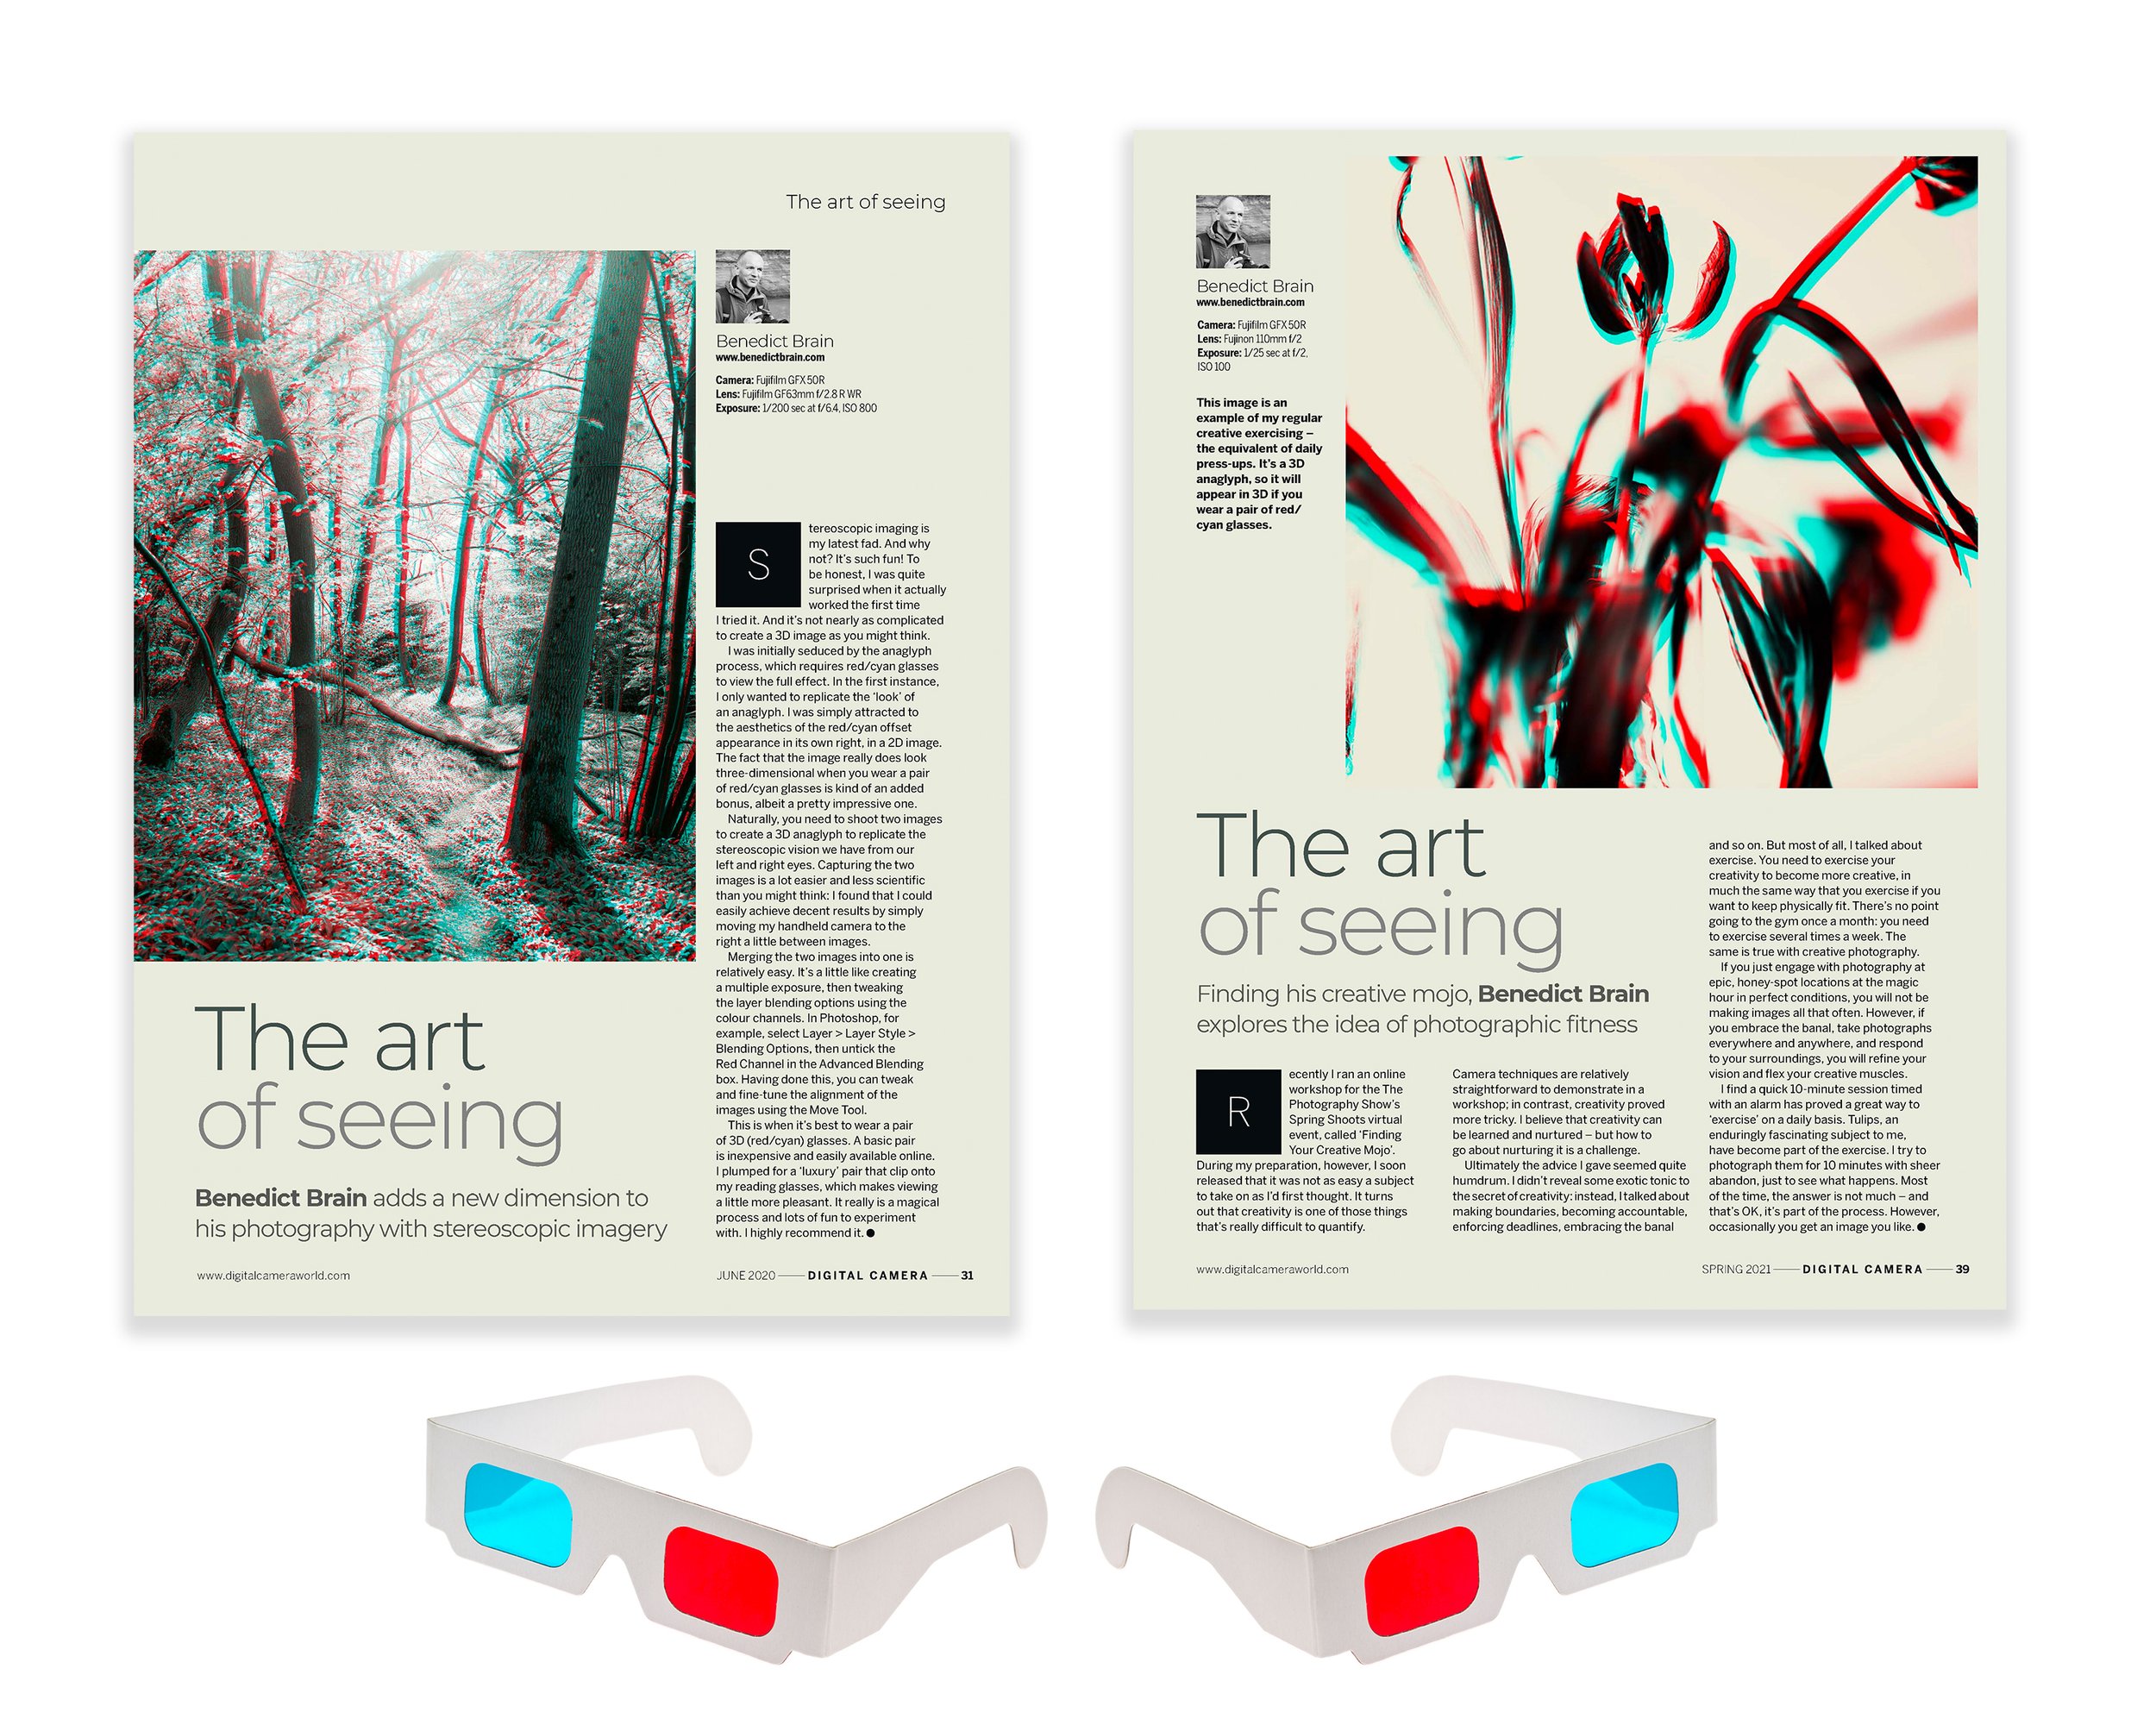
How to Make a 3D Anaglyph
Bring your pictures to life with this simple 3D photography technique using Photoshop and a pair of red-cyan glasses.
There’s something pretty cool about a 3D anaglyph. It’s a bit of photographic magic, an illusion built from two 2-D images that, with a little red and cyan wizardry will trick the brain into seeing depth. Before you start, you’ll need a pair of red-cyan 3D glasses, which can be easily found online.
A 3D anaglyph works by feeding a slightly different view to each eye using the red/cyan glasses. It’s the same principle that lets us see the world in depth. The trick is to imitate this difference using two photographs taken from slightly different viewpoints and messing around a little bit in Photoshop, don’t be freaked out though, it’s very easy and lots of fun!.
Step 1: Capture the Two Images
Set up your camera and take two photographs in relatively quick succession, moving the camera sideways by about an inch or two between each shot. You don’t really need to use a tripod or be super-precise. But keep your subject still, if you’re photographing a person or scene with movement, or you’ll end up with ghosting. Label your shots “left” and “right.”
Step 2: Combine Them in Photoshop
Open both images as layers in a single Photoshop document. Select the top layer and go to: Layer Style > Blending Options. Under Advanced Blending, turn off the Red channel. Then select the bottom layer and turn off the Green and Blue channels. This gives one layer the red information and the other the cyan, the core of the 3D effect.
Step 3: Adjust for Depth
Put on your red-cyan glasses. Use the Move tool to nudge one layer a few pixels left or right until you see the illusion of depth. Shift it too far and the image will split; too little and it will fall flat. When it feels right, flatten the layers and save your masterpiece.


